
GCB Process Part II
Welcome back for Part II! Normally at this stage, I’ll create some quick watercolor comps for the stained glass piece to plan colors, textures, etc. Oddly enough, I never did that for this one. I saw it quite clearly in my mind, and what with the colors being so dark, there wasn’t much need to plan out glass colors until I got to the sky (more on that in a later post).
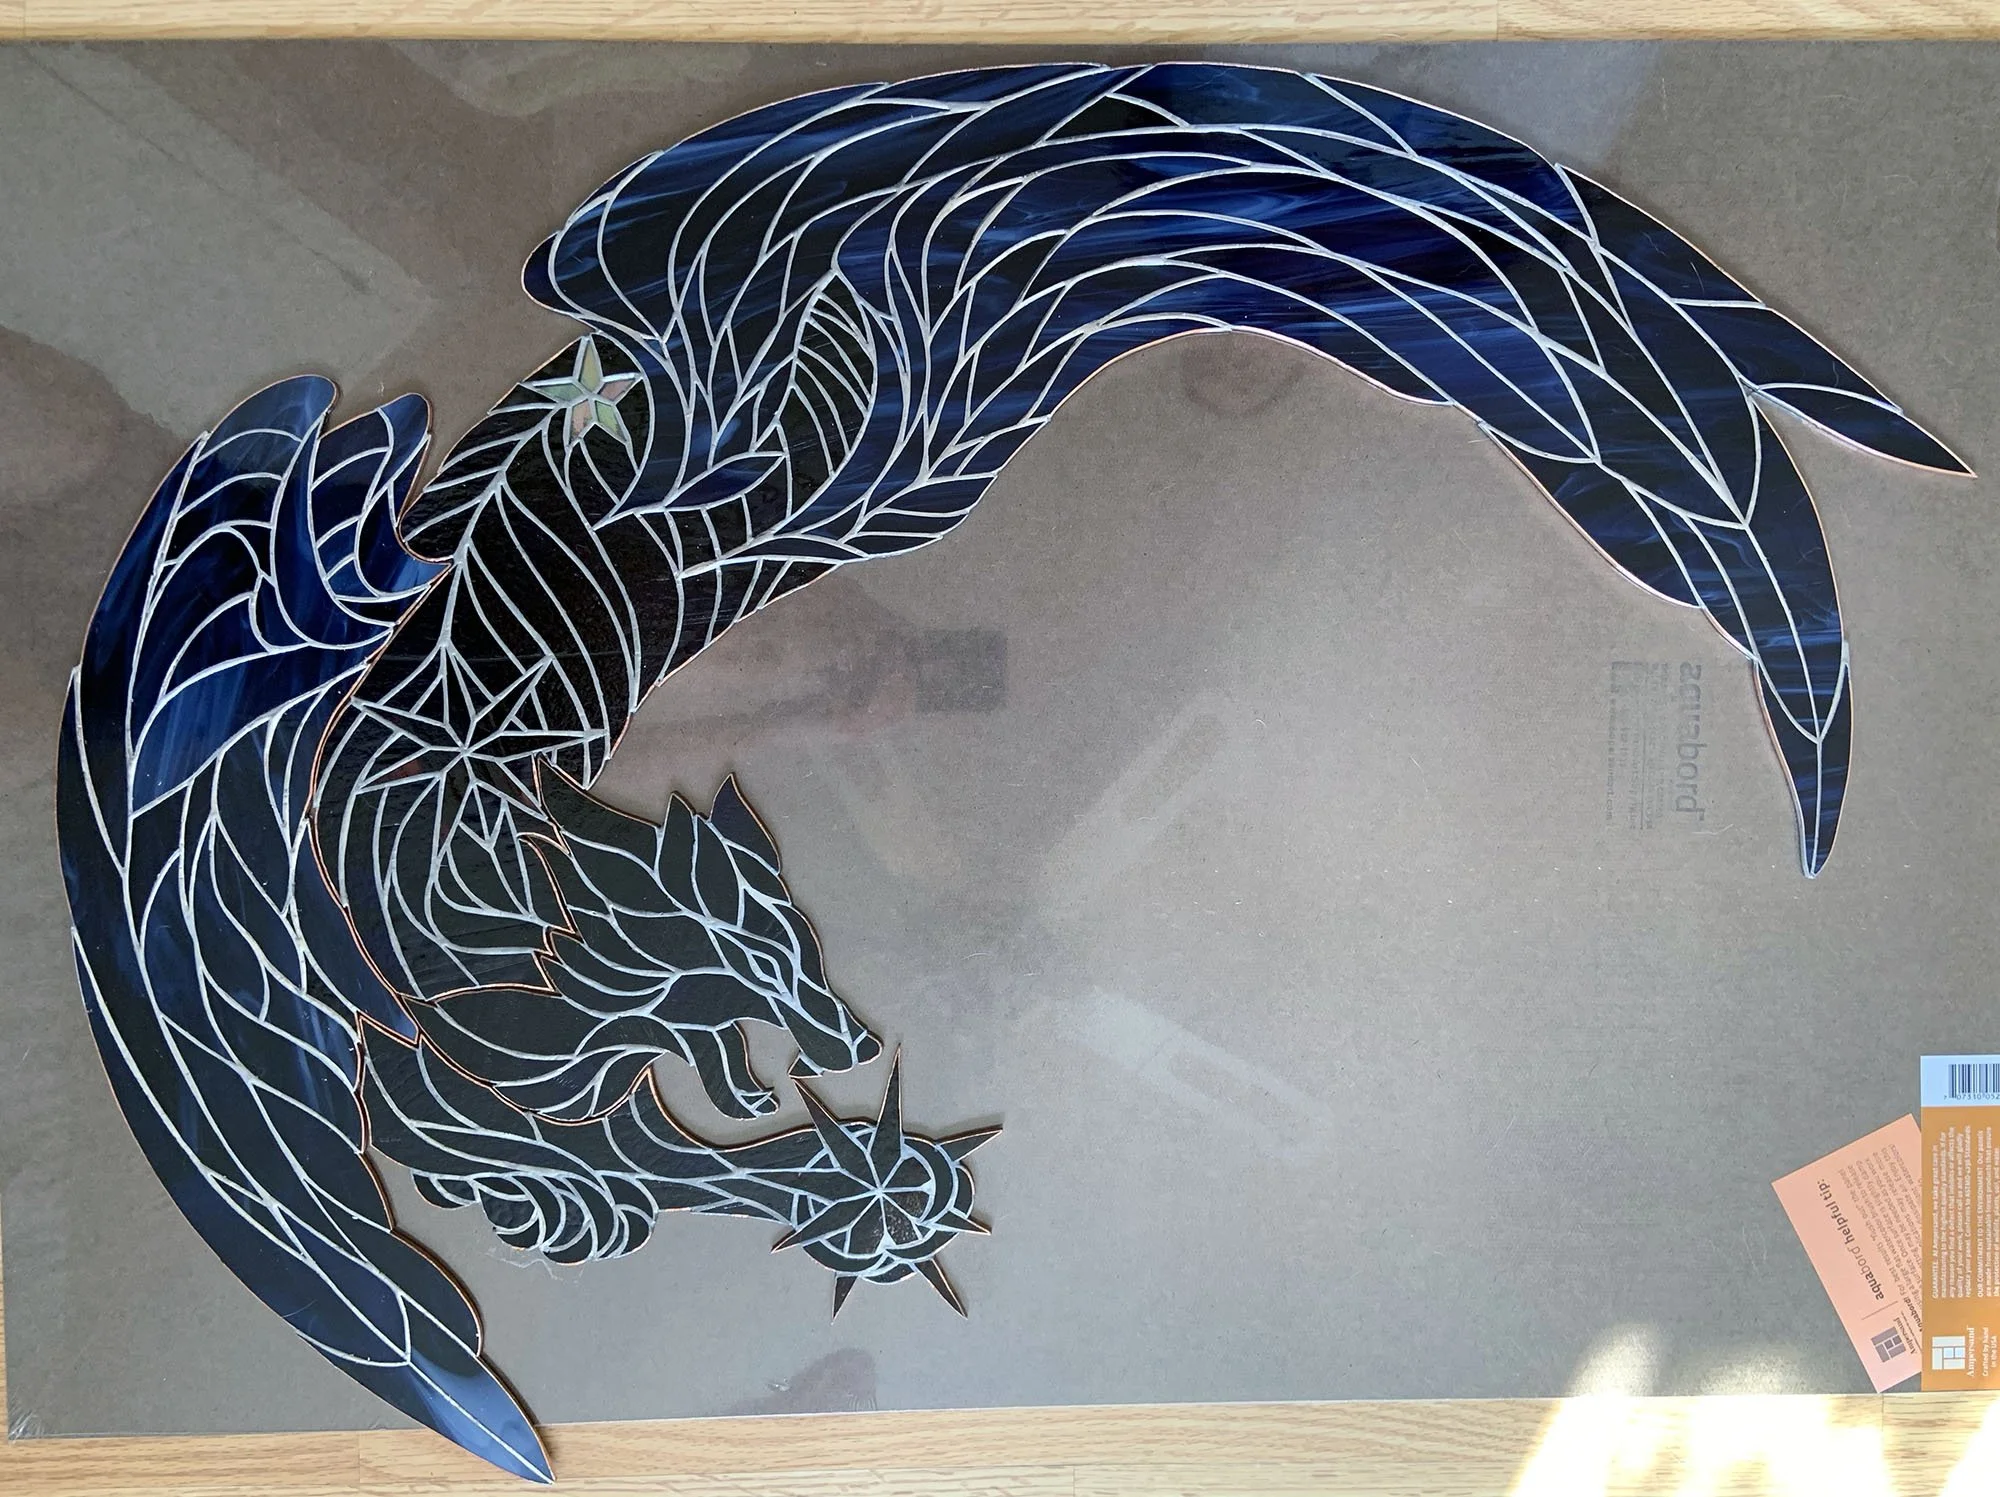
Halfway there (old head)! If you look closely, you can see that I left each section unconnected so as to be able to move/store it easily without fear of the glass bowing and cracking.
While I’d planned the rough shape and movement of the Beast’s body, I created each section of pattern as I went. This was due both to beginner’s ignorance (ah, what bliss) and the fact that, as a beginner, I wasn’t precise enough yet (especially with so many tight, tiny curves) to follow my own pattern. Oddly enough, this worked for me, allowing me to adjust the pattern as I went to achieve a flowing, congruent whole. Though I don’t recommend working like this if you can possibly avoid it.
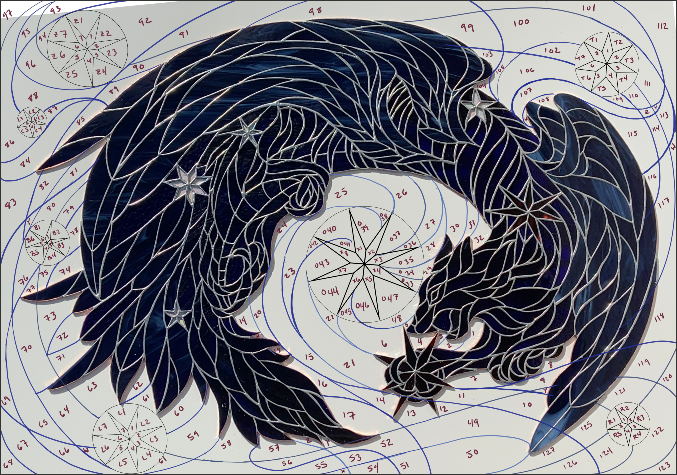
At this point I also made the small stars for the spine, so that I could build the rest of the body around them.
The completed Beast (with new head)! I particularly like that the glass looks almost black here, then comes to life with color in the light.
After nearly a year of work (not full-time, usually in the evenings after I finished painting for the day), my Great Celestial Beast was complete! Most of the body was made out of a gorgeous deep blue, violet, and burgundy wispy glass made by Wissmach, with the wings a deep blue and white/opal wispy (Oceanside, I think?), with a few other odd panes added in as contrast.
The tail became an odd faerie tale (faerie tail?) of sorts, as I kept changing its form, trying to figure out what fit the overall design. I tried a seal tail, wolf tail, hawk tail, even a phoenix tail (remnants of which remained, blending wing feathers into tail floof), before finally settling on a fox tail. I happened upon a gorgeous piece of glass at my local glass shop (A Touch of Glass in Asheville, NC) that matched the deep ultramarines and violets of the rest of the body, with a few gorgeous streaks of ruby-violet running through it. As much as I could, I tried to cut the tufts of tail floof so that the reddish bits were on the tips, creating a loose ombre down the tail, ending in a brilliant sweep of ruby, as if the tail had dragged through a molten sunset as the Beast ascended into the night sky.

A detail shot of the finished window showing the transition of glass colors toward the tip of the tail
Scraps of these ruby-violet streaks I then incorporated into the new head I made after finishing the rest of the body. Mostly, I tried to match the color of the eye, tongue, and even the ends of the fangs to the tip of the tail, helping visually join the body into a flowing ouroboros of sorts. Not only did that keep the viewer’s eye moving around the circle, but would also blend into the visual movement patterns of the sky.

Another detail shot of the finished window, showing how I split that same streak of ruby-violet glass between the end of the tail and the tongue and eye.
The detail shot above also illustrates the next challenge awaiting me in the window: how to incorporate all the stars into the swirling night sky? Find out in the next post!