Supplies
I get asked a lot about my supplies: what I use, what I prefer, and what the benefits are of one type of paint vs. another. So, I thought I'd write up a post about it (complete with pictures!). Keep in mind, this is just what works best for me and each artist definitely has their own preferences.
Most art supplies come in three different grades: craft (the cheapest and lowest quality), student (good for beginners/hobbyists), and artist (the highest quality, and thus, most expensive).
Watercolors
Almost everything I do is based in watercolor, whether it's a painting, a doodle, or even a papercutting. For a basic set, I really like Winsor&Newton's field set. This is also great for traveling. Winsor&Newton also make a good set of tube colors which also works well on the go.
What's the difference between cake and tube watercolors? Tube colors tend to be more intensely pigmented/vibrant, whereas cake colors tend to be lighter/less saturated. Of course, cake colors can be mixed into very dark shades, but generally, it's easier just to use tube colors for darker/brighter hues such as ultramarine, burnt umber, carmine red/yellow, etc. Once tube colors dry out on your palette, you can also re-wet them and use them just like the cakes! (This is also handy if you cat happens to bite through one of your tubes, causing all the paint inside to dry...)
My favorite watercolors though have to be Mijello Mission Gold's tube colors. They are the most highly pigmented watercolors I've ever seen and oh are they a dream to paint with! They're a bit on the pricey side, but the tubes are large, so last quite a long time.
The lovely thing about watercolors is that you really don't need many colors outside of a primary set. Most colors can be mixed with just a little practice! Of course, there are a few exceptions to this, such as bright aqua blue, spring green, fuchsia, etc. But, the more you experiment, the more you learn that with watercolors, less is more.
I tend to have very messy palettes, which is fun because it means I can usually find whatever color I need already there). Of course, if I want a color to be really bright and pure, I'll wipe off a corner of the tray to use so it doesn't get muddied up accidentally. I tend to like reusable/seal-able palettes like this one by Mijello (also very handy if you have cats), which are good for travel and are easy to clean/reuse. Regular plastic palette/styrofoam trays (like meat comes packed on) also work quite well.
Gouache
I get asked a lot about the difference between gouache and watercolor. Basically, gouache is brighter/more pigmented and more opaque than watercolor. Gouache tends to be favored by graphic designers and illustrators with a bold, flat style because of its vibrancy and the ease with which you can control its opaqueness. Water-based gouache acts very much like tube watercolors in that you can use it straight from the tube for very vibrant, opaque layers, or once the paint has dried, just re-wet it and use like cakes for thinner/lighter layers.
There are two types of gouache: water-based and acrylic-based. Unlike water-based gouache, acrylic-based cannot be re-wetted, but is incredibly bright and fun to paint with.
For water-based gouache, I like this set by Winsor&Newton. As with watercolors, most colors that you would want can be mixed with a bit of experimentation, with the exception of colors like aqua blue, fuchsia, bright green, and light lemon yellow.
For acrylic-based gouache, Holbein has an amazing range of colors.
Brushes
For me, as with most artists, brushes are a career-long collection. Namely, because nice watercolor brushes can be ludicrously expensive, such as my very favorite set by Escoda. These brushes are the bee's knees. Seriously. They're like painting with a cloud. A very fine, precise cloud. Ah, brush-y bliss!
I also really like these sable brushes by Winsor&Newton. However, I don't like using sable for gouache, so these student-grade synthetic brushes by Winsor&Newton Cotman are great. They are also very good for scrubbing out watercolor, speckling, and other techniques that tend to be a bit harsh on brushes. (Plus, they're much much cheaper than real sable!)
The size and shape of your brushes really depends on your personal style and techniques. I tend to like finer rounds/pointed rounds and riggers, because I like doing very delicate detailed work. You'll just have to play around with different types and see what works best for you!
Watercolor Paper
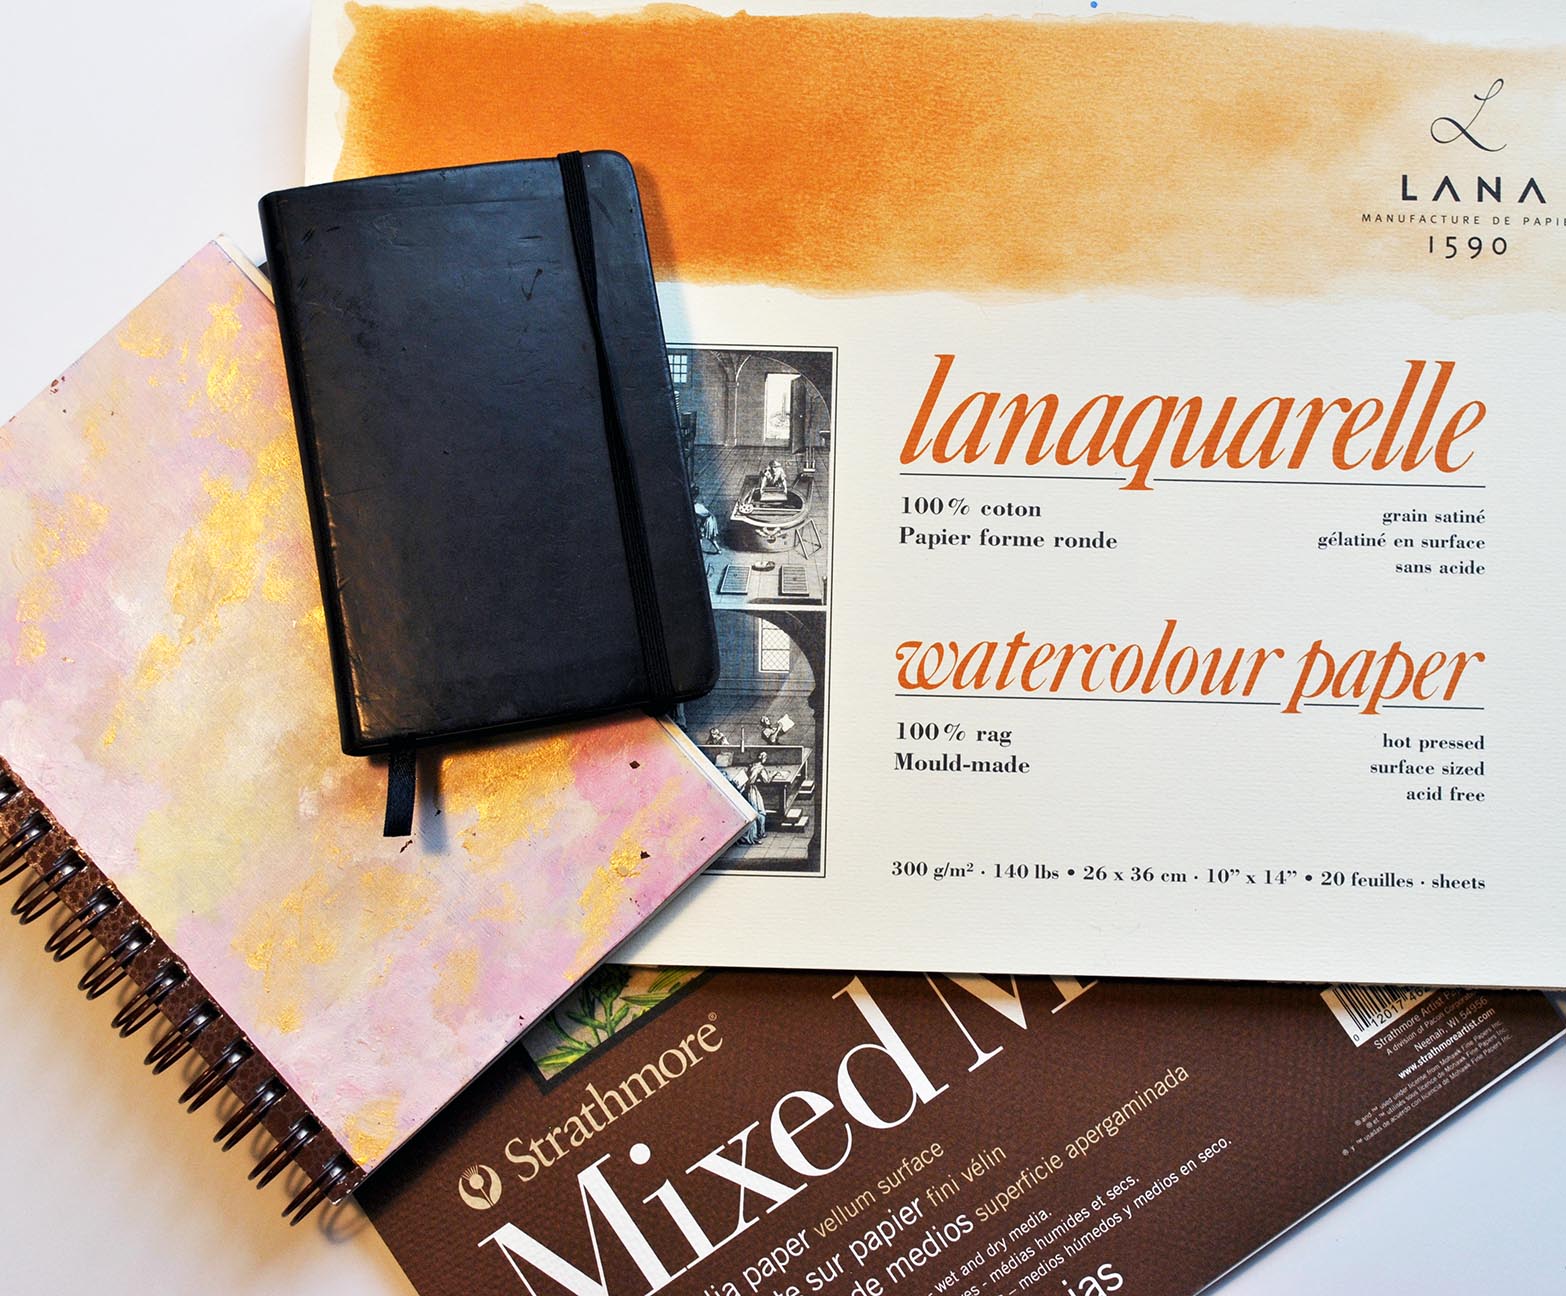
As with brushes, different artists prefer different types of watercolor paper. I really like hot press paper which is incredibly smooth, allowing me to make very soft/smooth gradations of color and put in lots of fine details. Lanaquarelle's hot press blocks are definitely my favorite, although since they're so expensive, I only use them for final illustrations. Being lazy, I also prefer watercolor blocks as it means I don't have to stretch the paper, haha!
Occasionally I'll use some of my fine watercolor paper for backgrounds in my papercuttings, but generally, I use Strathmore's mixed media pads. In fact, most of my papercuttings are made out of this paper, as it takes watercolor and gouache quite well and is also sturdy enough to hold its shape in the shadowbox. Plus, being relatively inexpensive means that if I don't like how a piece came out, I can just start over and cut out another one! If you're wanting to layer a lot of color on, however, I'd recommend using an actual watercolor paper, as paint tends to wear off after the 5th/6th coat.
I also keep a few watercolor sketchbooks on hand for doodling, practice, and when I'm traveling. Unfortunately, these are all cold press, at least that I've been able to find!
Papercutting Paper
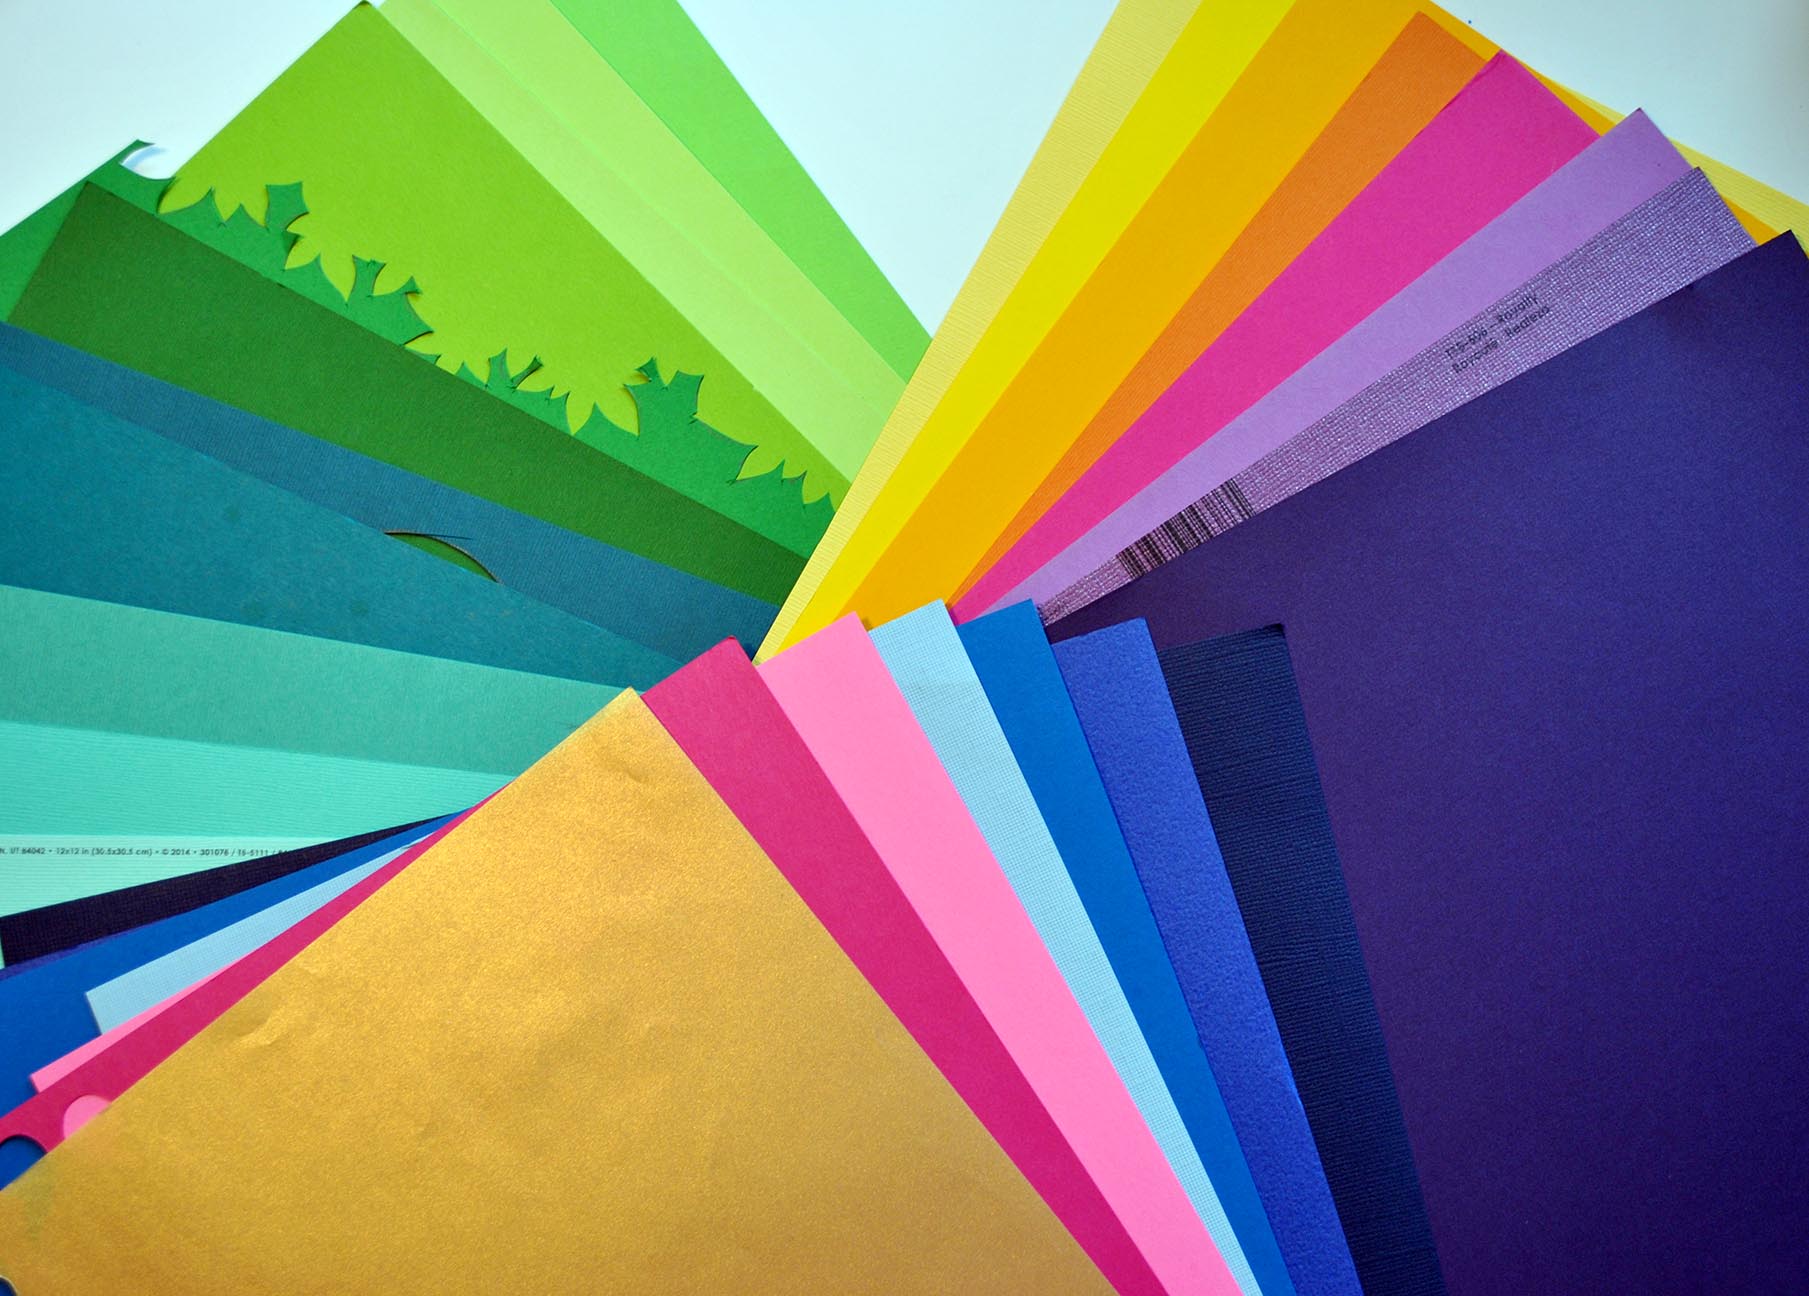
As I mentioned above, for all the painted bits of my papercuttings, I like Strathmore's mixed media pads. For mostly flat-colored pieces, like leaves and architecture, however, I tend to use a mix of colored papers. Sometimes it's just colored cardstock, other times it's textured scrapbooking paper. Just take a look through the scrapbooking section of any craft store and you're sure to find a wealth of possibilities! I like to stick to solid colored papers and then just paint on whatever patterns/texture I want, but as I've said, each artist definitely has their own style. The fun part is playing around with different materials/mediums until you find what's right for you!
Other Tools
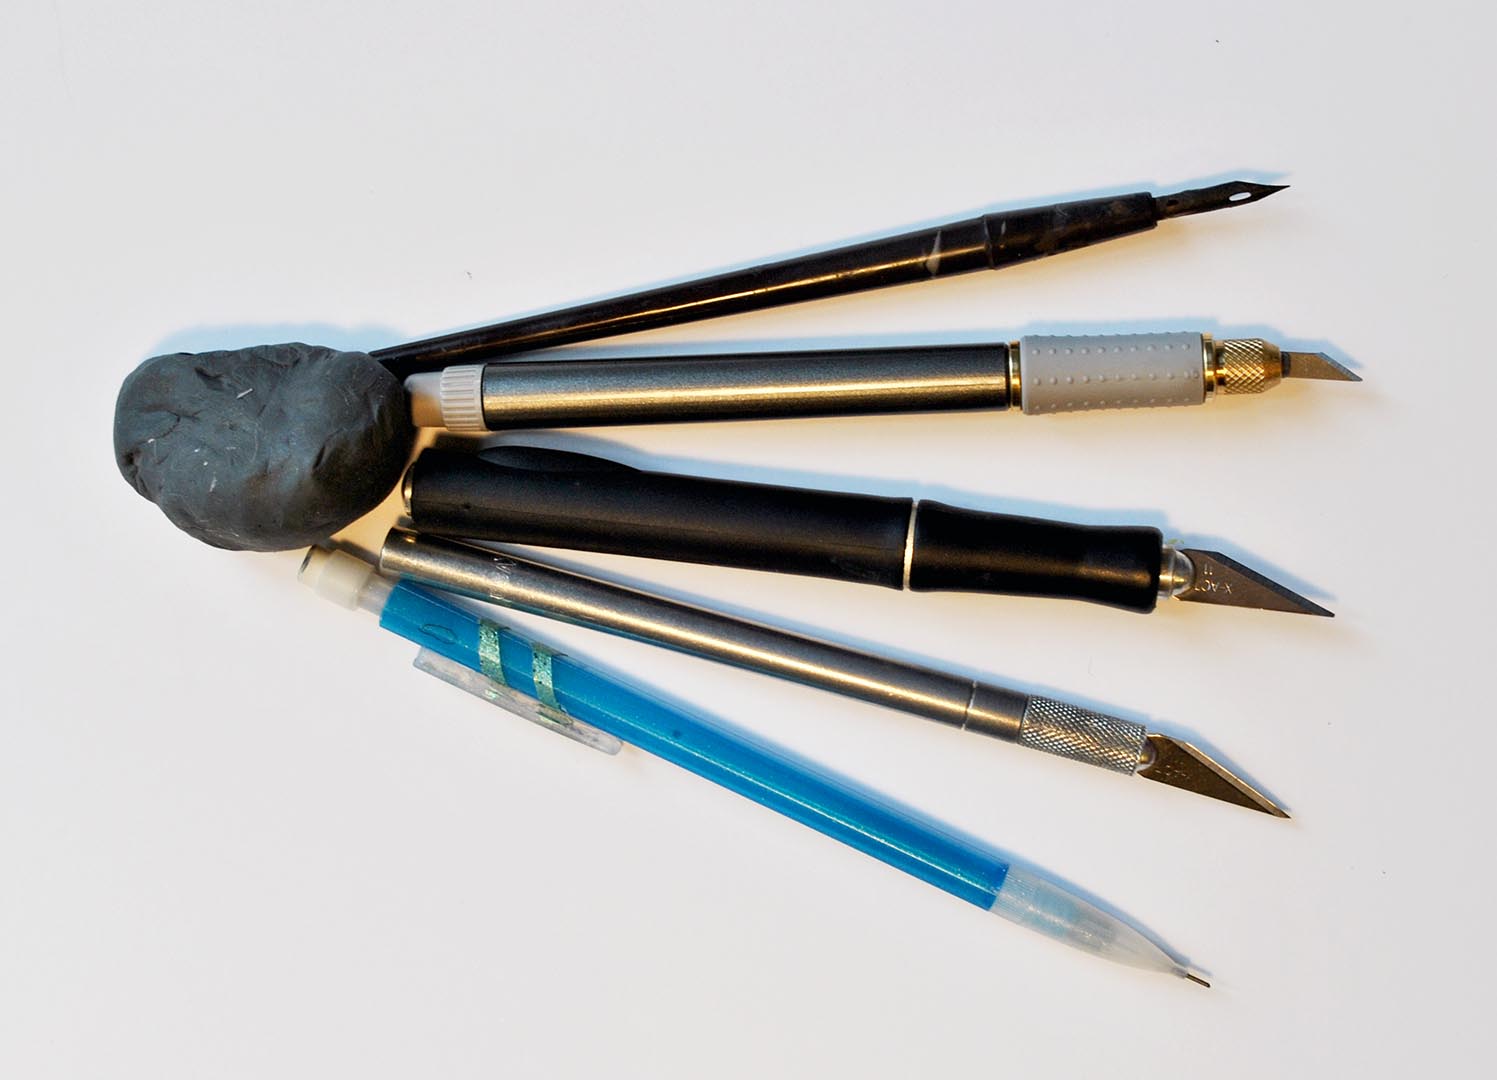
Obviously, when working on paintings/papercuttings, it's helpful to have a pencil or two laying around. Kneaded erasers are also great because you can form it into different shapes depending on the area you knead to erase (get it? knead?). It's also good for lifting off 90% of the graphite before you start in on a watercolor since, once the paper's wet, there's no erasing.
For papercutting, I also use a few different sizes of x-acto knife (depending on the level of detail), as well as a pair of tweezers for those teeny-weeny pieces. If you think you'll be doing a lot of cutting, the comfy/ergonomic handle is definitely worth the few extra dollars! It's also good to always keep extra blades on hand as they wear out quite quickly.
Not pictured: a cutting mat! This is a must if you're going to be doing any sort of cutting, as it saves not only your table, but also your blades.
Glue
As with the colorful papers, for these I just raided the scrapbooking section of my local craft store. I just use a basic Scotch glue for flat-gluing pieces of papercuttings together. For slightly raised pieces, I use either the foam tape or foam sticky squares (I have no idea what they're actually called). If something needs to be substantially raised, however, I glue in stacks of foam core strips for more stability.
If a piece has embellishments, I'll also use either adhesive size or this wonderful glass glue from Sun&Moon Crafts.
Iridescent Paints
Iridescent paints may, in fact, be the most fun part of painting. And these paints by Golden are just divine. The fine iridescent gold is especially beautiful.
Embellishments
Sometimes, it's fun to dress up a painting or papercutting with a little extra sparkle and shine. When that's the case, I usually go for these tiny sequins. For some serious pizzazz though, I love Swarovski's AB flatback crystals. And, of course, a touch of glitter never hurts!
I usually use either adhesive size or this wonderful glass glue from Sun&Moon Crafts to attach these fancy bits and baubles, or maybe even a touch of superglue in extreme cases. This is also where some craft tweezers come in handy!
I hope this guide has been useful! If you have further questions, just let me know and I'll make more guides/tutorials.


